Toggle Navigation
open search bar
share with emailshare with Facebookshare with Twittershare with Pinterestshare with LinkedIn

How To Achieve The Perfect Top Knot

Lifestyle

9 Min Read

By Nutrafol Team2019-07-10

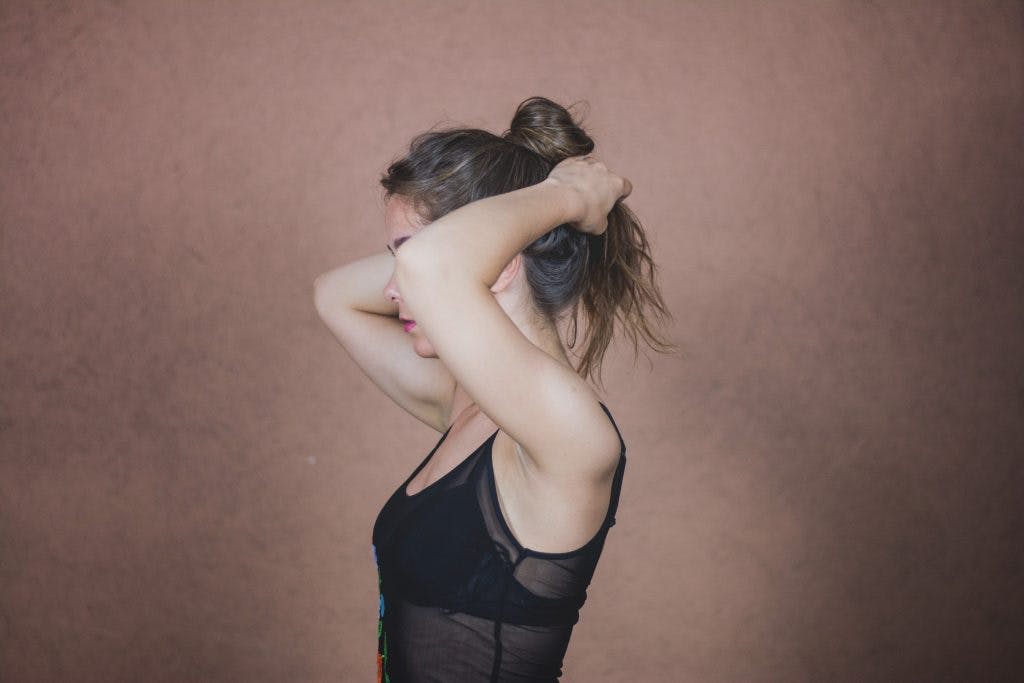
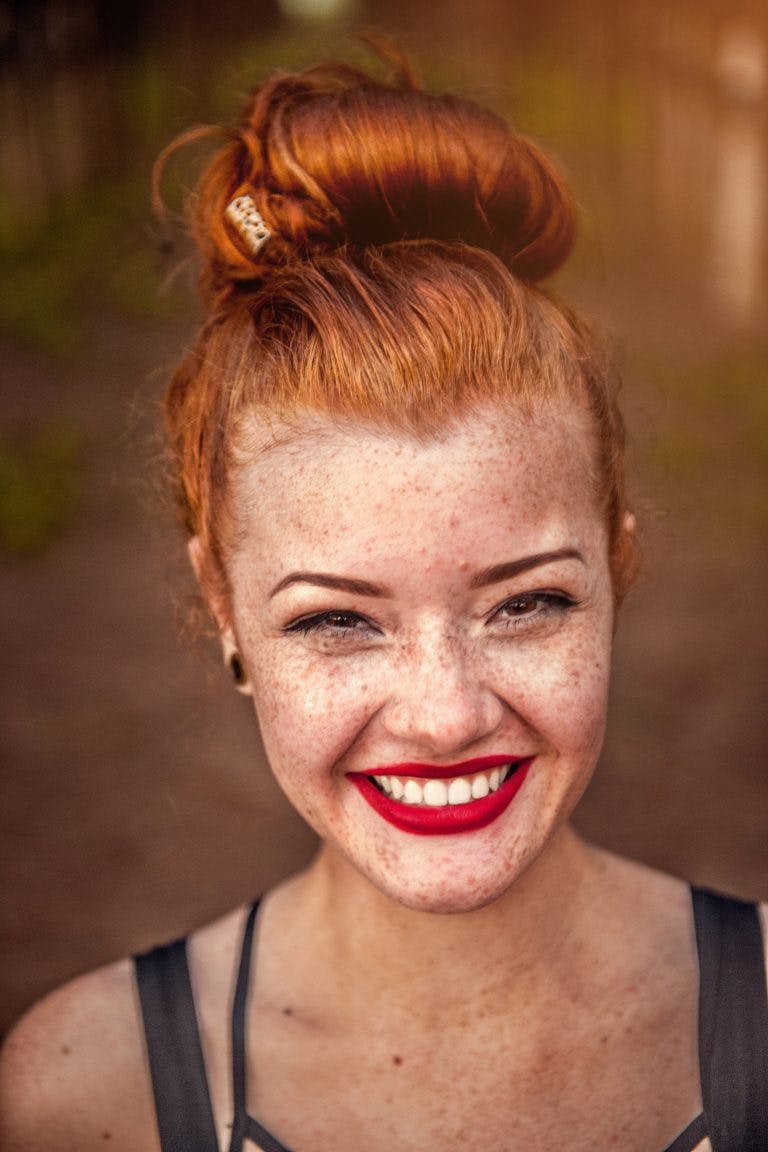
There’s something so satisfying about a hairstyle that’s equally easy and chic. And hairstyles don’t get much easier than a top knot bun.

Top knots are perfect for literally every occasion. The same top knot you wear to the gym pairs just as perfectly with a little black dress for happy hour. The top knot is basically the Chanel bag of hairstyles — it goes with everything and it’s a girl’s best friend. Everyone should learn how to do a top knot. It’s that foolproof.

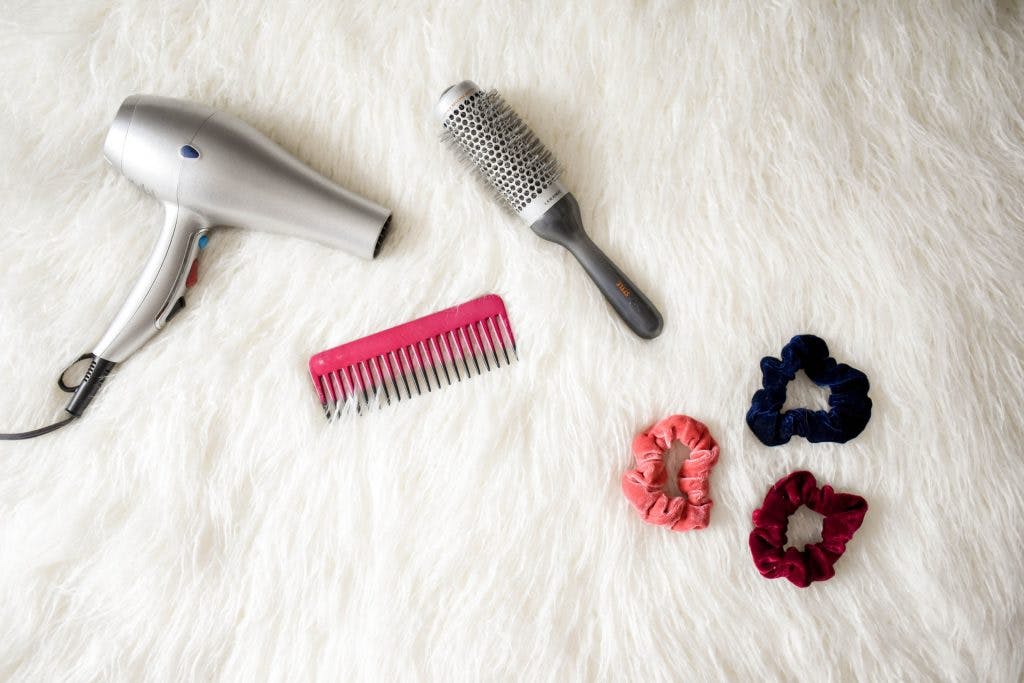
But as easy as the top knot process can be, it can also end disastrously if you use the wrong products, pull the hair to tight, or don’t have the correct hair accessories.

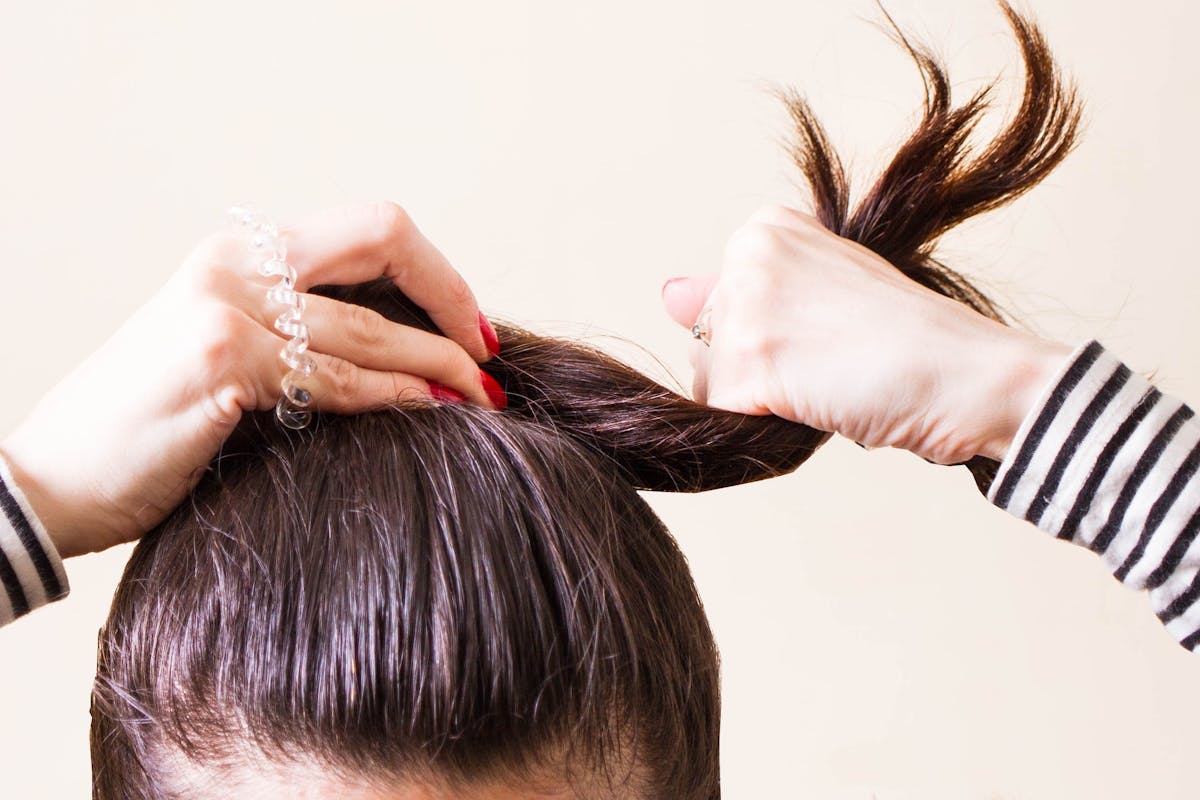
Following the steps ahead will help you craft a top knot like a pro.

Step 1: Choose the right products and tools

You’ll never get the top knot you want without kicking things off with the right styling tools. Executing the perfect top knot requires the following: 

1.) The right brushes to avoid breakage. You need one with lightly packed, hard bristles for easy detangling and one with densely packed, softer bristles for smoothing.

2.) A hydrating prep treatment. Starting with a quick spritz of leave-in conditioner is key to prepping the hair and preventing damage. 

3.) Your smoothing products of choice. Depending on the look you’re going for, this can be a shine-enhancing hairspray or gel for edge control.

4.) Gentle hair accessories. The anti-breakage tools of the top knot trade are ouchless hair ties and bobby pins. 

Every product you use needs to be gentle on the hair so you get the perfect top knot without sacrificing hair or scalp health.

Step 2: Prep the hair

Spray on your favorite nourishing hair product to ensure your top knot stays sleek and has a healthy sheen for the duration of the day. This could be a smoothing product, shine spray, or leave-in conditioner. If your hair is prone to dryness, select a product that will add moisture and that also has a sealant oil in its formulation. Spraying your hair before pulling it into a top knot is great because it makes step two much easier.

Step 3: Detangle and smooth

Use a detangling brush with lightly packed bristles to gently comb through any knots. The less tangled your hair is, the easier it will be to style. But take your time and be gentle: The top reason for hair breakage is often due to excessive and abrasive manipulation. Detangle your hair starting from the ends and work your way closer to the top of your head to avoid unnecessary pulling.

Step 4: Make a ponytail

After tangles are removed, use a softer boar bristle brush to sweep the hair up into a ponytail. And whatever you do, don’t secure the ponytail with a rubber-band, because they’re abrasive and can cause breakage, especially among those with textured hair. Instead, use a fabric-covered elastic hair tie or a traceless hair ring (those hair ties that look like old-school telephone cords). This prevents breakage and saves you from a lulling headache caused by an unforgiving hair tie. 

Psst… you’re halfway to having a flawless top knot bun!

Step 5: Form the top knot

For a sleek top knot, smooth the hair hanging from the ponytail before you begin wrapping it into a bun. Alternatively, you can lightly tease the hair for a more textured, just-rolled-out-of-bed top knot. Once you’ve wrapped your top knot into a bun, tuck the end bits underneath the ponytail holder.

Warning: If your temples are hurting after you wind your hair around, your hair tie is too tight. That’s not healthy for your scalp and can cause traction alopecia if you do it consistently.

Curly hair tip: Try wrapping the top knot looser to highlight your beautiful texture. Another cute way to show off curly hair texture is to leave tendrils out in the back or front of your top knot.

Step 6: Secure your top knot

For those wayward strands, grab a few bobby pins and tuck away. You can stick bobby pins into your top knot to secure hairs or you can make a style statement by placing pins around the bun. The latter is especially cute when using metallic or brightly colored pins.

Step 7: Tend to those baby hairs

If baby hairs aren’t your jam, then go ahead can skip to step eight. To slick baby hairs, apply your favorite gel to the edges of the hair and use a tiny brush (or the boar bristle brush from before) to create proper swoops. But whether you have slicked baby hairs or not, your top knot bun is still going to slay!

Step 8: Lock the look with hairspray

Be sure to select a spray with the right amount of hold. If your hair is prone to frizzing, you’ll want to treat your top knot to a hairspray that provides extra hold. If your hair is naturally sleek, select a lighter hold hairspray. No matter what hairspray you use, don’t overdo it or else the hair will look crunchy and dry. Three to four sprays is all you need.

Step 9: Take a top knot selfie 

You knew this was coming, right? You just learned how to do a top knot. You pulled it off in record time. You gave your hair the proper TLC along the way by choosing products that promote comfort and hair health. Oh yeah, and you look bomb. Time to reap the selfie rewards!

share with emailshare with Facebookshare with Twittershare with Pinterestshare with LinkedIn

Sign up for the Nutrafol Newsletter

© 2024 Nutraceutical Wellness Inc. All Rights Reserved.

These statements have not been evaluated by the Food and Drug Administration. This product is not intended to diagnose, treat, cure or prevent any disease.