Toggle Navigation
open search bar
share with emailshare with Facebookshare with Twittershare with Pinterestshare with LinkedIn

How To Trim Your Own Hair Without Ruining It

Lifestyle

12 Min Read

By Nutrafol Team2019-10-08

When your ends are dry, split, or difficult to style, it is time to cut your hair. 

But life gets busy, and it can seem impossible to find time to go into a salon for a trim. These are the times when it would be really nice to be able to cut your own hair at home. And while trimming your own hair always carries a bit of a risk, with a little confidence and the instructions below, you can cut your hair at home without an emergency salon visit afterward.
How often does hair need a trim?

Trimming is important for a healthy-looking head of hair. While cutting off dead ends does not impact scalp health or hair growth, it will make your hair look smoother and softer. A good rule of thumb is to trim your hair about every six weeks. Here are a few rules to consider before you start trimming your own hair. 

  • Never cut your own hair before a big event. Do you have a job interview? A wedding? A big date? A work event? If so, put down the scissors. It is never a good idea to start cutting your hair right before a big event. If you absolutely need a haircut the day before an event, call up the salon and find the time to go in. It will be worth it. 
  • Don’t cut your own hair to try a new style. If you’ve ever wanted to try out a bob, a salon is the place to try it, not your house. Cutting your own hair is perfect for touching up your current style and getting rid of split ends, but not for a whole new style. 
  • Remember that hairstylists make it look easy. Stylists have extensive knowledge and training that makes it look easy to cut hair — but it is most certainly not easy. It’s best to err on the side of restraint when cutting your own hair. It’ll help with better results.

Only cut your own hair if you’re maintaining your current style and don’t have anything big coming up. The goal of cutting your own hair isn’t perfection, so if you need a perfect and crisp cut, head to the salon.

Choosing scissors

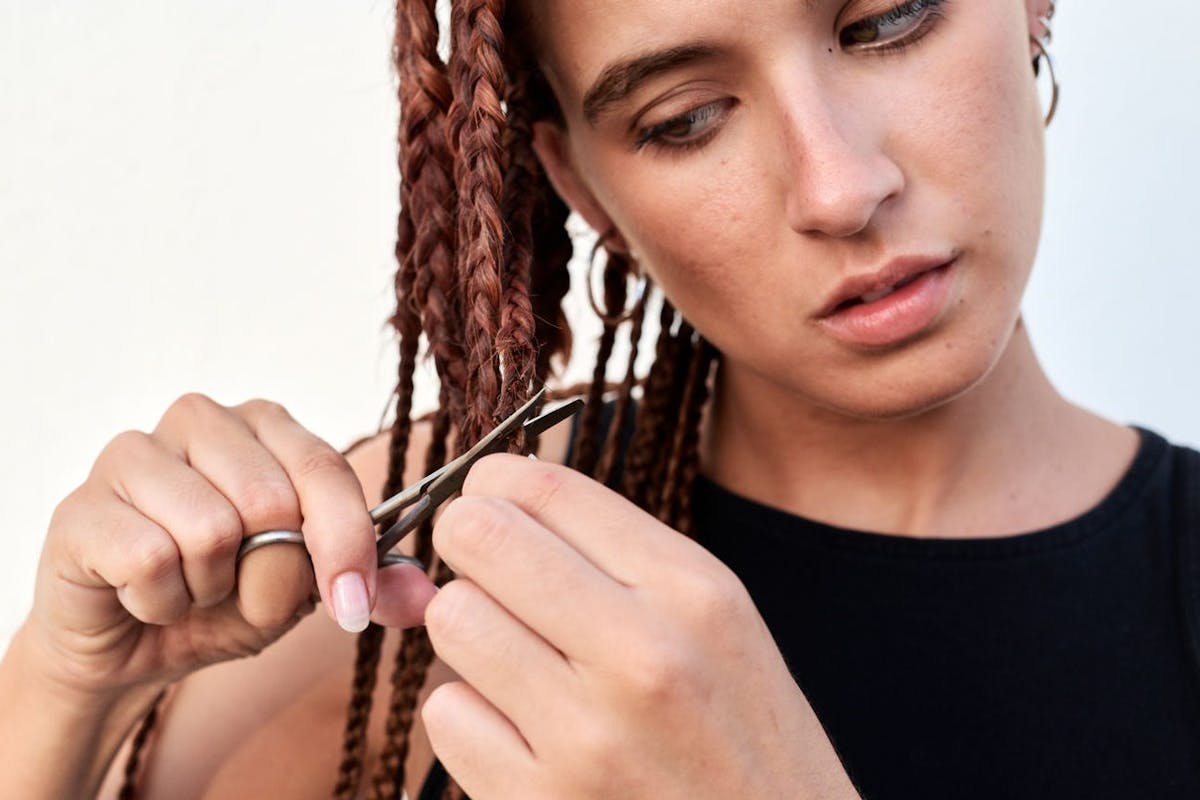
Most of those childhood disasters that taught you never to cut your own hair involved regular household scissors. That’s part of why cutting your own hair was a disaster back then. Household scissors are too rounded and dull to cut precisely or straight. In fact, household scissors can cause more split ends. The key to cutting your own hair at home is a pair of decent scissors. 

The best choice of scissors is a set of hair cutting shears that can be found anywhere hair products are sold. While any pair of quality hair scissors will work, consider buying a pair designed for close cuts. After all, you’ll be trimming.  

How to cut your own hair if you’re a woman

Once you have the right scissors, it’s time to trim your hair. Follow these steps for how to cut your own hair, disaster-free, in your own home. 

  1. Get your hair damp. Dry hair is difficult to cut, and hair will lay differently after drying if it’s cut while sopping wet. So towel-dried hair that is slightly damp is best. Also make sure that your hair is clean because grimy hair can wear your tools out. 
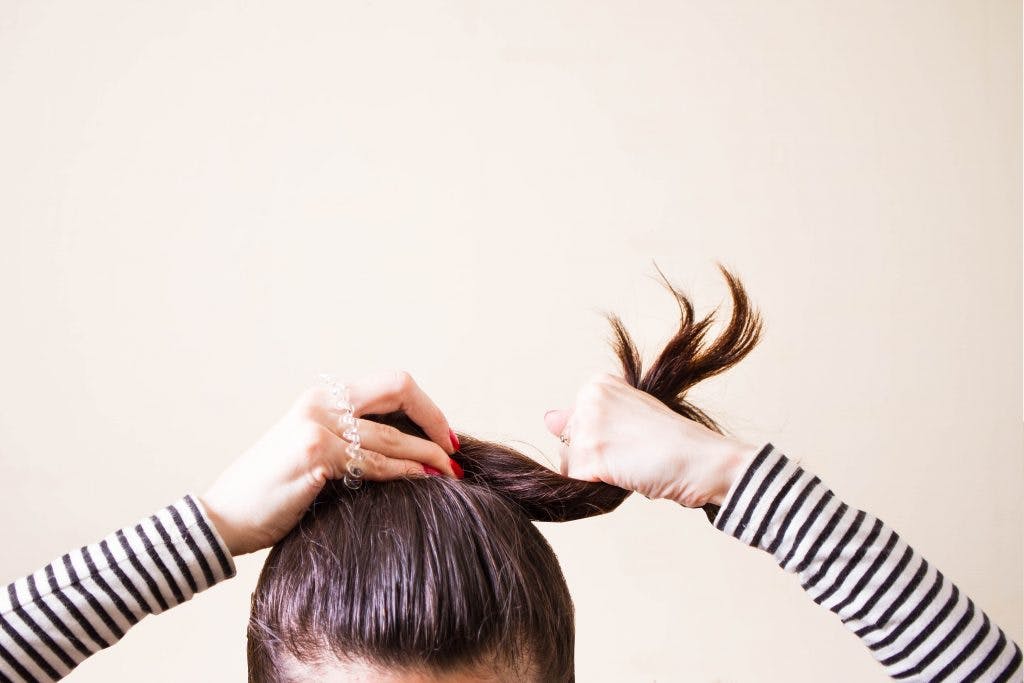
  2. Tie a ponytail on the top of your head. Brush your hair up into a ponytail and make sure it’s smooth. Tie your hair as tightly as possible right on the top of your head. 
  3. Pull the hair tie down to the ends. Hold your ponytail straight up and grip it tightly. Pull the hair tie straight up to your ends, stopping just a couple of inches from your ends. Make sure you hold the elastic tight.
  4. Cut straight across under the hair tie. Only do this if you want to remove a larger portion of hair or have longer split ends. 
  5. Cut into the ends. Only snip a tiny bit at a time because you can always cut more later, but you can’t add length. Take it slowly and gradually work your way through all of your ends. 
  6. Remove the hair-tie. That’s all there is to cutting your own hair. 

How to cut your own hair if you’re a man 

A lot of men already cut their own hair at home, but if you’ve never tried, here are the steps on how to cut your own hair. 

  1. Get your hair damp and clean to make it easy to cut and avoid clogging your tools.
  2. Use clippers to cut the sides of your head. Use guards to make sure you’re making small cuts. You can always cut more later. Trim the sides but not the top; it’s best to do both sides first and make sure they match before moving on.
  3. Use the clippers to trim the back of your head. Try using a handheld mirror or other similar setup to see where you’re cutting. Make sure you’re moving the clippers upward. 
  4. Once the lower part is cut, use scissors to trim the top of your head. Section the hair and only cut a little at a time. Pull the hair straight up and cut across the small section, always comparing it to the other sections. 
  5. Clean it up. Use your clippers held downward to make sure your cut is even and clean. 

How to trim your bangs

Maybe it’s just your bangs that need the trim. Here are the steps to trimming your bangs at home. 

  1. Get your bangs damp. Again, this will make them easier to cut.
  2. Section your hair. Make sure you tie back any hair that’s not part of your bangs and keep it away from your face. 
  3. Cut into your bangs vertically and snip away those long or dry ends. Never cut your bangs horizontally. This creates a blunt look that will most likely be very crooked and uneven, so always cut into your bangs vertically. 

That’s it. Trimming your bangs is actually really easy. The key is cutting vertically and using the right scissors for the job. 

The bottomline for cutting your own hair

There are times when you can wield the scissors yourself. Knowing how to cut your own hair can help you save time and money — as long as you cut your hair the right way.

share with emailshare with Facebookshare with Twittershare with Pinterestshare with LinkedIn

Sign up for the Nutrafol Newsletter

© 2024 Nutraceutical Wellness Inc. All Rights Reserved.

These statements have not been evaluated by the Food and Drug Administration. This product is not intended to diagnose, treat, cure or prevent any disease.